Table Of Contents
So far the website should be performing quite well, and if desired, some local cache will make it even faster, however, adding a content delivery network and caching resources on the edge can deliver content to your users a lot faster, as well as protect you from DDoS attacks and other types of attacks.
In this series I’ll show how to create a simple, fast and security-conscious blog.
Part 1: Hosting / installation
Part 2: Plugins, upgrading PHP, HTTP security headers
Part 3: Caching, WAF and Optimizations
Part 4: Monitoring and performance testing
Setting up Cloudflare
Sign up for a free account at https://www.cloudflare.com/.
Upgrading to Pro has some definite benefits
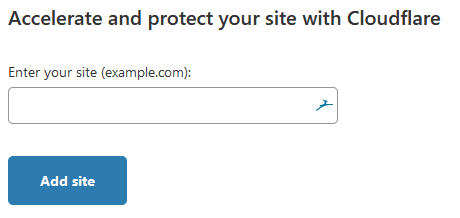
Add your site
As soon as you log in, you have the option of adding your first site
Verify your DNS records
At the next step it will try to detect and import all your existing DNS records. You’ll next be changing your nameservers to use Cloudflare’s nameservers, so make sure all your DNS records are present. There is an option to avoid this if the situation really requires it, and proceed with CNAME records, but you’ll have to reach out to Cloudflare support to discuss those options.
Update your nameservers
Log into your domain provider (ex: GoDaddy), go to DNS settings for the domain, and update your nameservers to those provided by Cloudflare. Once done, you can continue on Cloudflare. For example:

Then verify the change on cloudflare, and once detected, you can proceed with the rest of the setup.
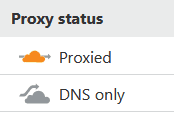
DNS only vs Proxied
Under DNS settings, you can set any subdomain as either DNS only or Proxied. Proxied means all traffic flows through Cloudflare, and thus you get all the benefits we’re about to configure, and cloudflare advertises its own addresses externally, while DNS only means that it just answers with what you enter there, like any standard DNS server would.
Enable DNSSEC
DNSSEC protects against forged DNS answers. DNSSEC protected zones are cryptographically signed to ensure the DNS records received are identical to the DNS records published by the domain owner. Go to the DNS tab, and under DNSSEC click Enable DNSSEC. This will provide you with a bunch of records, which you’ll use to update the DS record on your registrar (ex: GoDaddy).
- Fortunately all major TLDs support this feature, however unfortunately for one of my other domains, the .ai TLD does not
Configure SSL/TLS
Go to the SSL/TLS tab. If you already have a certificate installed on your site (like the one from letsencrypt that the cloudflare script sets up), then you set this to Full or Full (strict).
Cloudflare by default will serve a Universal certificate it signed (Cloudflare is a trusted certificate authority). However, you can either order an SSL certificate from Cloudflare or upload your own.
Next, turn on Always Use HTTPS, which is an extra protection in case the HSTS headers don’t make it to the user.

Now verify that the site is working over SSL properly before moving to the next setting. Once everything works on HTTPS, you can enable HSTS

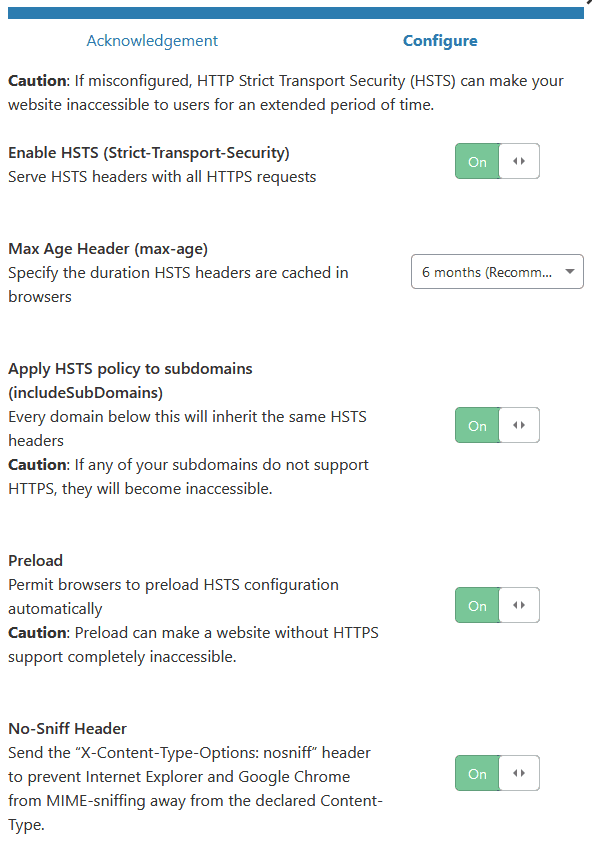
Next, enable all the header options and set a max-age of 6 months; apply to subdomains (make sure those will work as well), preload, and might as well set the No-Sniff Header (although we already set it, so up to you where you do this)
Next we’ll want to disable weak TLS protocols. TLS 1.0 and 1.1 have already been deprecated, and are considered unsafe for ecommerce, and all new operating systems and browsers support TLS 1.2 or 1.3. TLS 1.3 is still gaining marketshare, so setting the version to TLS 1.2 is safer, since if someone tries to access your site and doesn’t have at least that level of encryption support, they won’t be able to reach your site.

Cloudflare’s default are already really good, they just don’t go overboard in case your site isn’t ready for it, but we’re setting it all up.
For the rest of the settings here, defaults are good. You want Opportunistic Encryption, and Onion Routing, TLS 1.3 support and Automatic HTTPS Rewrites.
If you uploaded your own Edge certificate or bought a Cloudflare one, then Cloudflare offers to monitor CAs for issuing certificates for your domain and will send you an email once they do. You won’t want to turn this on with the Universal SSL, since you’ll get a lot of emails each time Cloudflare adds another site to that cert.

And finally if you don’t use the Universal SSL, disable it.

Web Application Firewall
WAF will protect you from a number of threats, if you have the Pro version of higher. Since we’re running wordpress, we’ll want to make sure those rules are on. If you don’t use some of the technologies listed, then it’s better to disable the filter to prevent false positives. Also turn on Cloudflare Specials.

OWASP is an effort to bring awareness to the most prevailing web application vulnerabilities, and Cloudflare has WAF rules to help mitigate against a number of common application-level attacks. The default ruleset is good to start, but monitor blocked requests to make sure your users aren’t prevented from getting to or using functionality on your site.
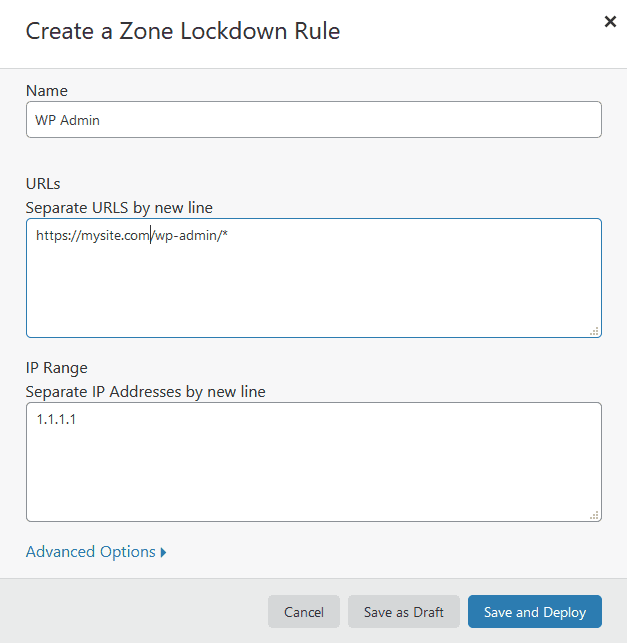
Zone Lockdown
This is a pretty neat feature, it let’s you add an IP whitelist to specific urls. For example, you can whitelist only your trusted IPs (when you have a fairly static IP) to be allowed to get to your wordpress admin. Don’t do this of course if you have an IP that changes a lot, or you use your phone to post.
Access
Access is basically a type of Software Defined Perimeter / Zero Trust. It only allows traffic to flow to subdomains / paths you list, once the user has authenticated with a federated identity provider (ex: Google), and you allow the user to access that specific resource.
Speed
Cloudflare will run a few speed tests of your site, and compare with what the site would run as without Cloudflare. The charts are definitely worth analyzing, so you understand more of what’s going on.
Switching to the Optimization subtab, we have a bunch of useful features.
Image Resizing
Adds the ability to resize photos automatically, adjust quality and convert images to WebP format (which is a lot faster) for browsers that support it.
Polish
Compresses your images further using either a Lossy or Lossless algorithm, and optionally serves WebP where possible. Depending on how important images are on your site, I’d suggest Lossy with WebP to get the most speed benefits.

Auto Minify
What things like uglify do, basically gets rid of whitespaces in files, renames variables, etc, which result in significantly smaller files. I suggest turning all 3 on, and testing your site to make sure nothing breaks.

Brotli compression
Brotli is a generic-purpose lossless compression algorithm that compresses data using a combination of a modern variant of the LZ77 algorithm, Huffman coding and 2nd order context modeling. Making things smaller is usually preferred, so turn it on.
HTTP/2 prioritization
Optimizes the order of resource delivery, I suggest you turn it on, since cloudflare can serve your content using HTTP/2.

Mirage
Mirage improves load time for pages and images on mobile devices with slow network connections by monitoring and resizing images on your site based on the optimal size needed for the user’s device, and then caching it. Mirage basically acts as a lazy loader with optimally sized images.

Rocket Loader
Basically moves all javascript to the bottom of the page and improves the time-to-interactive. Depending on what optimizations you already have, the benefits of this feature should be tested for your site specifically.

AMP

Caching
Caching is one of the more tricky parts you have to be careful with. Make sure you understand that content in cache will not be reloaded from origin automatically when it changes, and you’re not necessarily serving the latest version of resources, since your server is not involved. Also be careful with cache poisoning; make sure you understand the parameters your site renders differently for, and cache key on those.
First, let’s set defaults for the site


You’ll also want to understand how to purge cache items. Anytime you change a resource, and need the cache to be updated, you just need to remove the old one from cache (or wait until it expires). You rarely want to purge everything, since your site might be slower while pages get cached again.

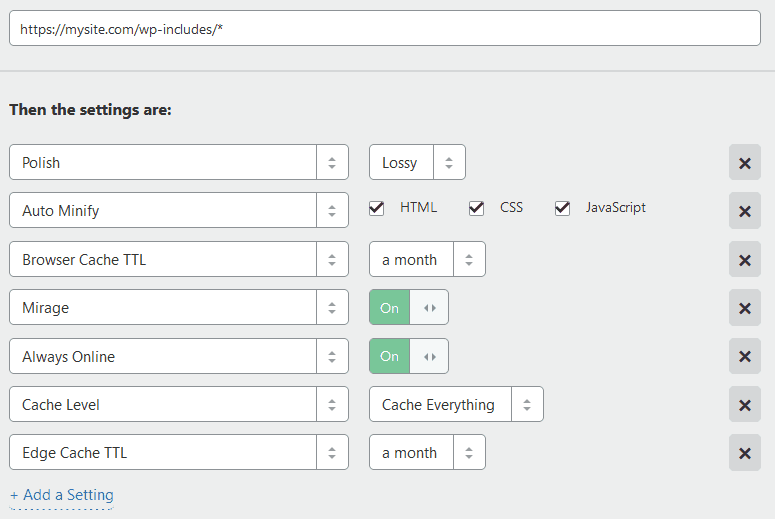
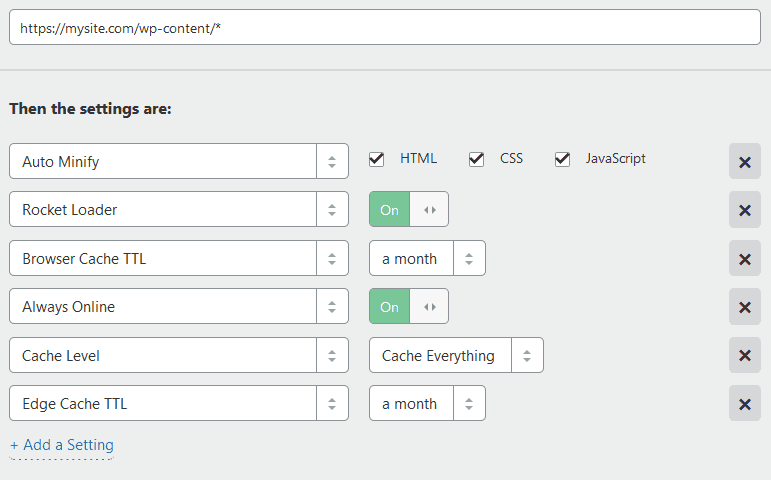
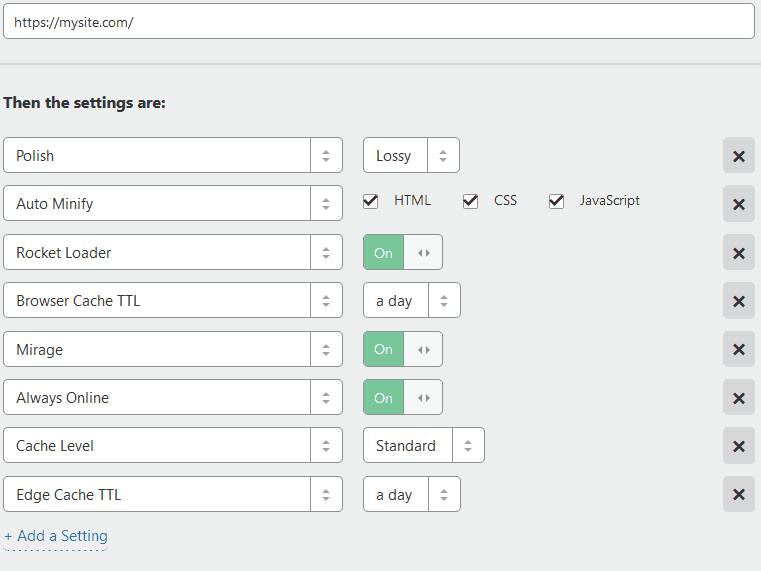
Next let’s create some wordpress specific optimizations using Page Rules. Let’s create 3 rules, and order them as follows.
Network
Turn on HTTP/2, HTTP/3, 0-RTT Connection Resumption and IPv6 Compatibility, and enable WebSockets if you use them.
HTTP/2
The internet has been working on a protocol built in the 90s called HTTP 1.1, which was an incremental improvement over HTTP 1.0, but HTTP/2 has been created to drastically improve the way the internet is actually used today. HTTP2 was created in 2015 as the first modern improvement to HTTP and brings with it a lot of performance features.

HTTP/3
While HTTP/1.1 and HTTP/2 work over TCP, HTTP/3 was introduced in 2019 as a drastically faster protocol. HTTP3 is based on a previous draft called QUIC developed by Google.

Turn on IPv6 Compatibility

0-RTT Connection Resumption allows clients that support it to continue a previously established connection, saving on the cost of the first-time connection negotiation time.

There are a lot more cloudflare features, and Apps to explore, that might have impact on your overall user experience or speed, so I encourage you to explore those as well.
Update DigitalOcean Firewall Rules to only allow traffic flowing through Cloudflare
Having WAF and DDoS protection only works if users can’t bypass it, so we need to limit how users can access your site.
Log into DigitalOcean and Go to Networking -> Firwalls tab -> click on the firewall you created.
Next to HTTP click More -> Edit Rule
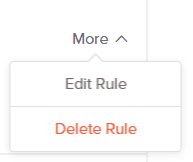
Remove All IPv4 and All IPv6, and add all the cloudflare IPs, which you can find on their site: https://www.cloudflare.com/ips/. Then hit Save
Repeat the same for HTTPS, and we’re done.
Cloudflare Page Cache
Adds support for caching pages on Cloudflare and automatic purging when content changes.
Install W3 Total Cache
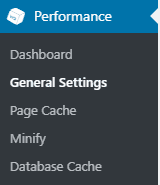
W3 Total Cache improves the SEO and user experience of your site by increasing website performance, reducing load times via features like content delivery network (CDN) integration and the latest best practices. Once installed, you’ll notice a new Performance menu on the sidebar, click General Settings
Enable Page Cache

Enable Minification, but test settings after you apply them to make sure they didn’t break anything.
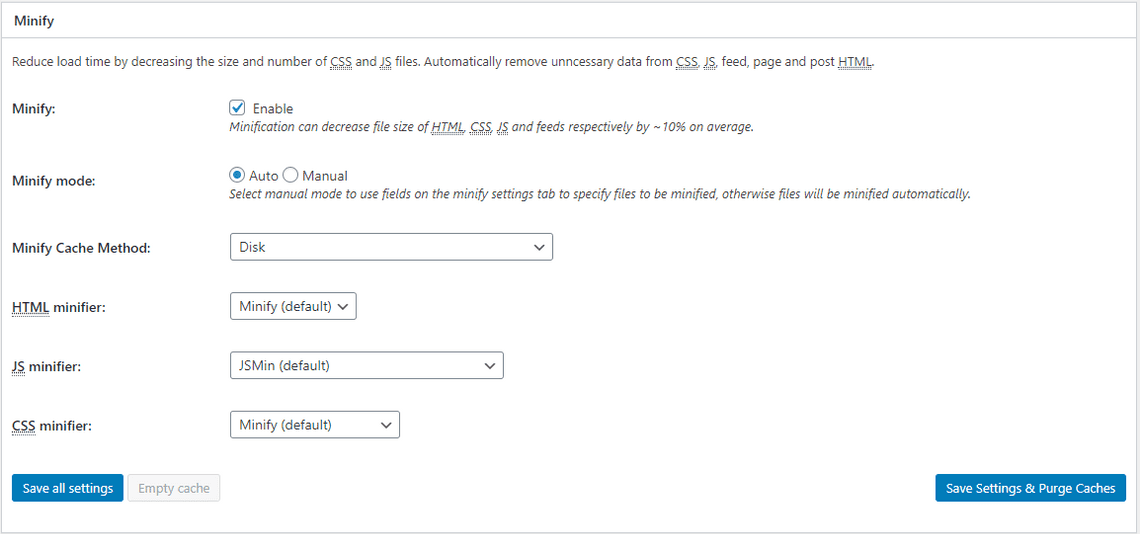
Enable Database Cache and Object Cache and Browser Cache. Then click Save Settings & Purge Caches.
Go to the Performance -> Extensions tab, and install the AMP and Cloudflare extensions.
Click Settings under Cloudflare, and add your email and cloudflare API Key, then select your site and click Next.
Scroll through the settings to get familiar with all the options, but defaults are usually pretty good here as well.
Subscribe To My Newsletter
Quick Links
Legal Stuff


