Table Of Contents
I find wordpress to be sufficient for my needs for a blog, so it’s my go-to for a really simple site or blog. If custom logic is needed, it’s a no-go, and it’s all the way custom based on what’s needed. “Right tech for the job.”
In this series I’ll show how to create a simple, fast and security-conscious blog.
Part 1: Hosting / installation
Part 2: Plugins, upgrading PHP, HTTP security headers
Part 3: Caching, WAF and Optimizations
Part 4: Monitoring and performance testing
Hosting / Installation
Azure, AWS and GCP have great free offerings for getting started, and free-tier that’s probably sufficient for small blogs. Wordpress.com could be a good option as well. I prefer Digital Ocean in this case, because I have full control over the VM, it’s really cheap ($6/month), it’s a one-click deploy droplet, and really fast. Digital Ocean also monitors security bulletins and sends me relevant info on vulnerabilities, so I can patch anything that’s needed, and they handle backups seamlessly.
Sign up for an account at https://www.digitalocean.com/
Create droplet
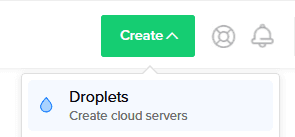
In your dashboard, at the top right, click Create -> Droplets

Under Choose an image, switch to the Marketplace tab and scroll down to the end, and choose Wordpress

Choose a plan. Standard is usually good, and scroll to the left and choose the $5/month plan (you can choose a higher one if you think you need it, but we’ll be caching a lot)
Next choose your datacenter region
Select additional options you need. I go with IPv6 and Monitoring

Choose your Authentication mode (SSH keys are more secure). Create a new ssh key with ssh-keygen or check out this guide on creating SSH Keys with Putty
Scroll down to Add backups and Enable backups (costs an extra $1/month and well worth it)

Click Create Droplet

In a few seconds (around 30 seconds) you’ll be good to go and your blog will be up.
Click on the newly created droplet. You’ll see its IP address, and some info on allocated resources.

Click on Access -> Launch Console

Once you logged in, you’ll start the wordpress setup.
The script will ask you a bunch of questions and configure wordpress for you. Enter a domain name for your blog, enter your email address, set up an admin account on wordpress (always use a different password then your Digital Ocean or VM account if you went with OTP instead of SSH)
Secure the blog with a LetsEncrypt certificate, basically just follow the wizard until finished, and your wordpress should now be up and running.
Restart Apache
In the VM’s console run
service apache2 restart
Update your DNS server to point to your new blog
Buy a new domain (ex: GoDaddy, Google Domains, Azure, etc)
Go to DNS settings, and change the A records for @ and www to point to your VM’s IP address (it’s listed in the VM’s dashboard under ipv4)

Add Firewall Rules
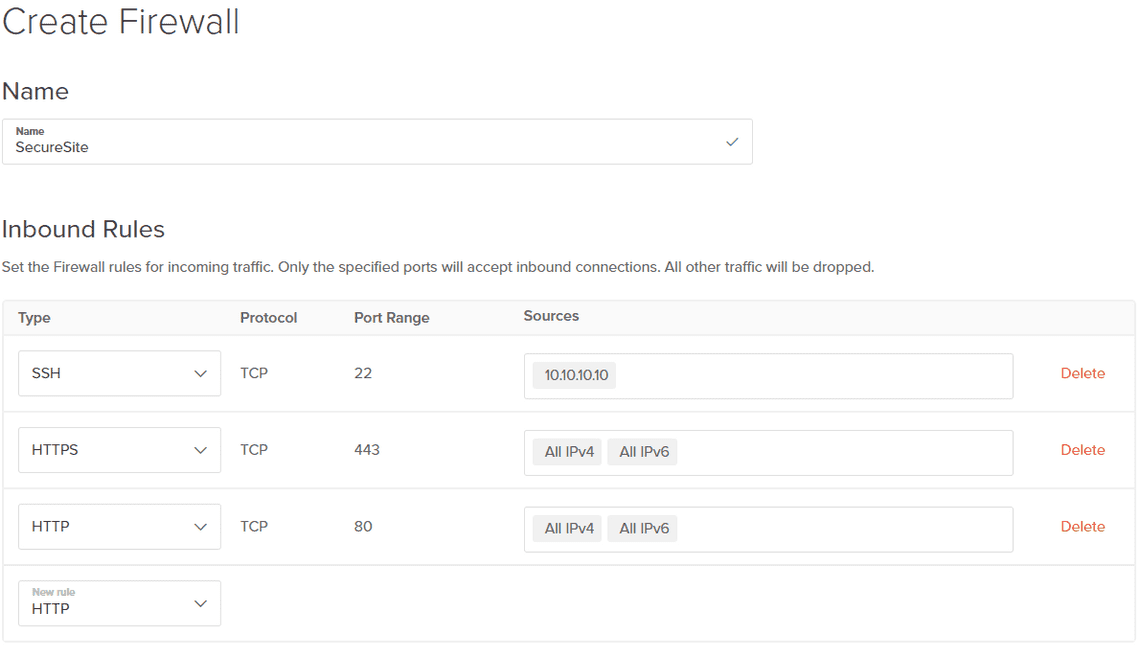
Go to Networking -> Firwalls tab -> Create Firwall
Give it a friendly name
Under Inbound Rules, remove All IPv4 and All IPv6 and add your IP Address(es), then add HTTP and HTTPS and leave those open to all for now, then scroll down and under Apply to Droplets, select your VM and click Create Firwall.

Subscribe To My Newsletter
Quick Links
Legal Stuff


